Why Resting Ribs Is Important
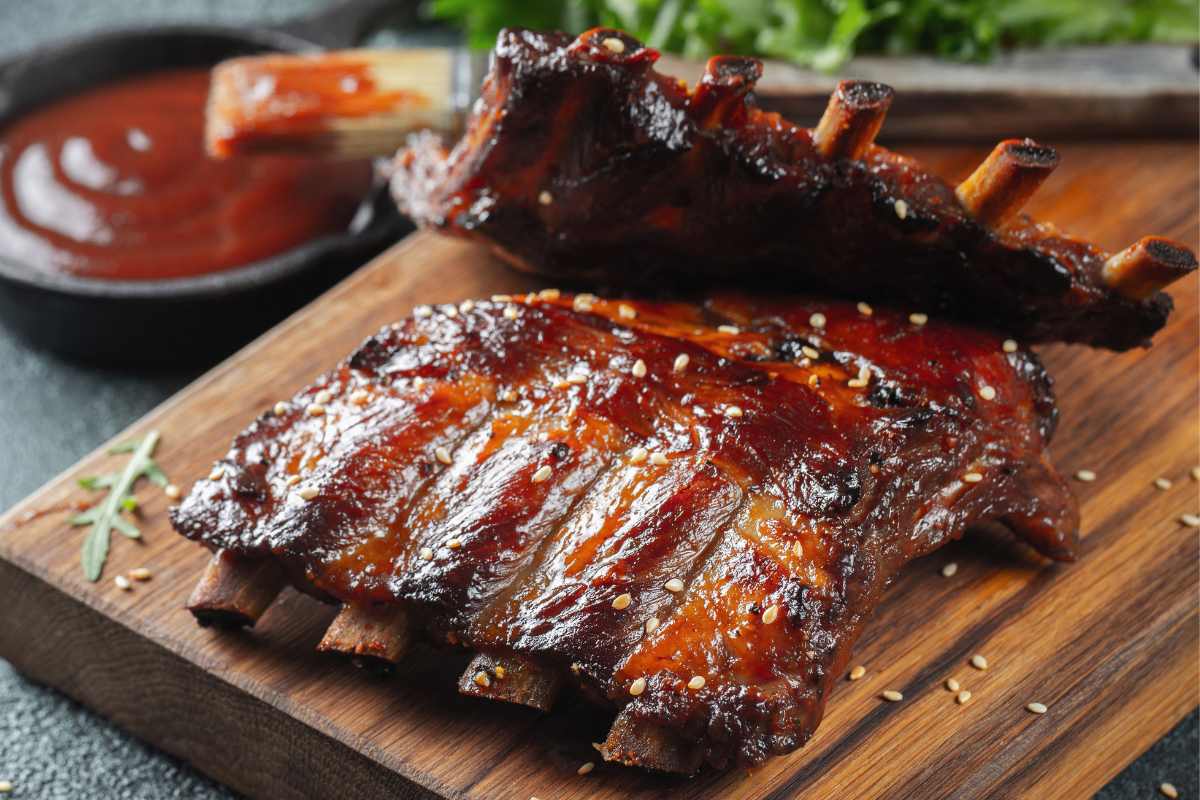
Resting ribs is an essential step in the cooking process because it allows the meat to reach its peak flavor. When ribs are cooked, the heat causes the juices to move towards the outer layers of the meat. By resting the ribs, the juices are able to redistribute evenly, resulting in a more flavorful and tender end result. Additionally, resting allows the meat to relax and retain its moisture, preventing it from becoming dry. So, by giving your ribs the necessary time to rest, you can ensure that they are deliciously juicy and packed with flavor.
The Science Behind Resting Ribs
Resting ribs is not just a matter of taste, but it also has a scientific basis. When ribs are cooked, the heat causes the proteins in the meat to contract and squeeze out the juices. Resting the ribs allows the proteins to relax and reabsorb the juices, resulting in a more tender and flavorful meat. Additionally, during the resting period, the residual heat continues to cook the meat, ensuring that it reaches the perfect internal temperature. So, giving your ribs the necessary resting time is not just about patience, but it’s also about optimizing the science of cooking for the best results.
Benefits Of Letting Ribs Rest Before Serving
Letting ribs rest before serving offers several benefits. Firstly, it allows the juices in the meat to redistribute evenly, resulting in a more succulent and flavorful bite. Resting also gives the protein fibers time to relax and reabsorb the moisture that was forced out during smoking or cooking, leading to a more tender texture. Additionally, as the residual heat continues to cook the ribs during the resting period, it ensures that the meat reaches the desired internal temperature for perfect doneness. So, taking the time to let your ribs rest before serving enhances their overall taste and texture.
How Long To Let Ribs Rest: Factors To Consider
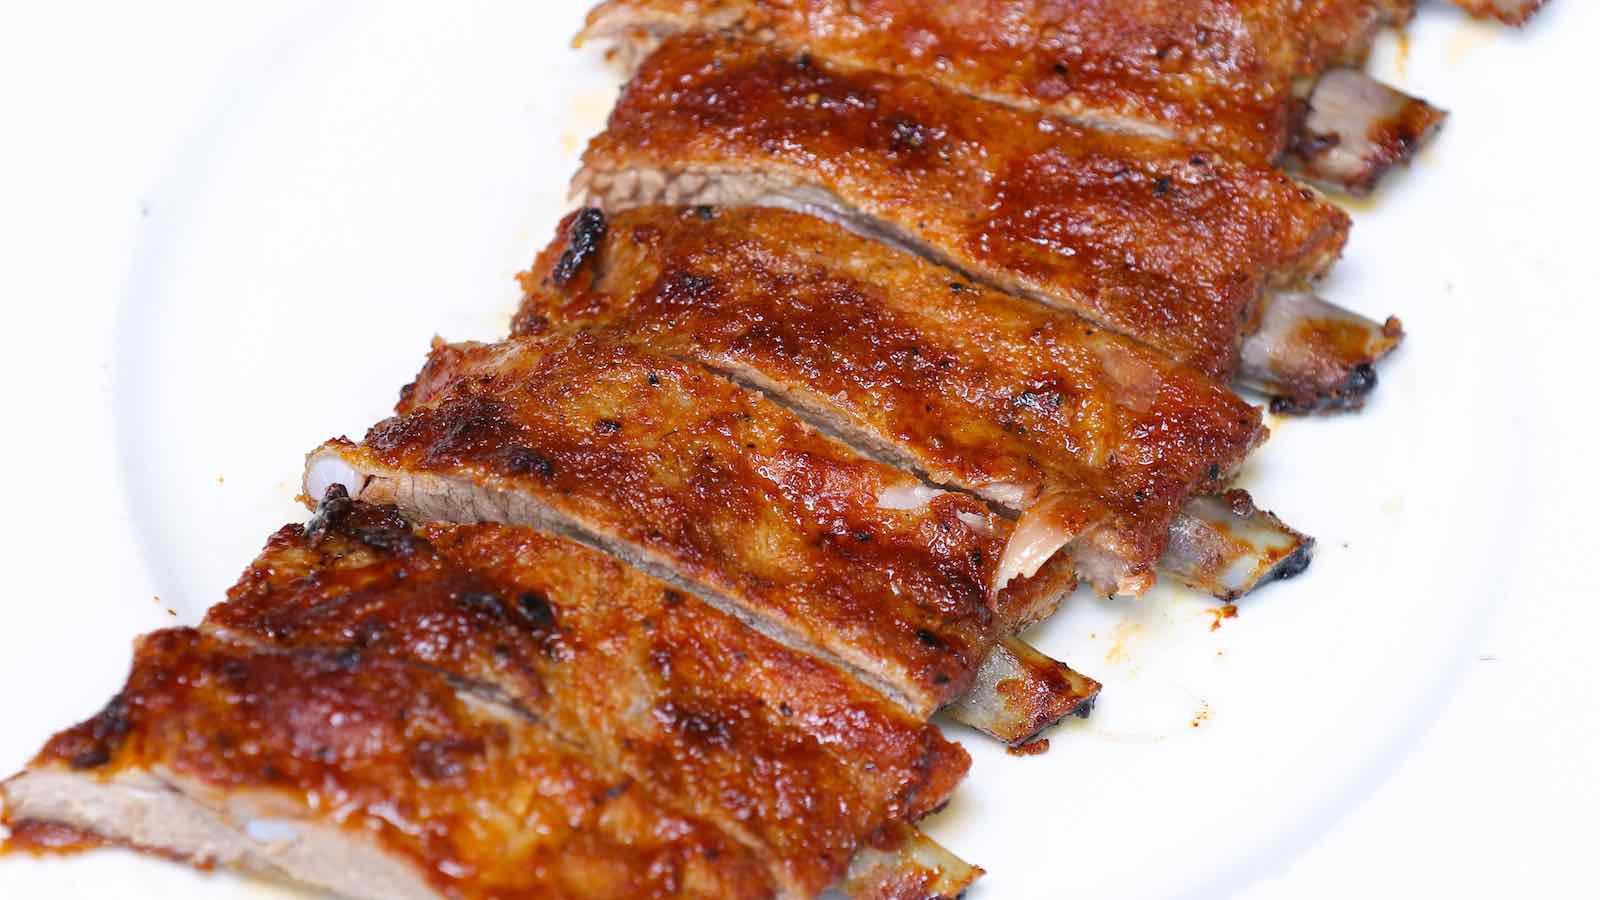
When determining the ideal resting time for ribs, there are a few factors to consider. The thickness of the ribs will play a role, with thicker cuts needing a longer resting time. The cooking method used also affects the resting time, as slow-smoked ribs may require a longer rest to allow the flavors to develop fully. Additionally, personal preference comes into play, as some people may prefer more tender, fall-off-the-bone ribs and therefore opt for a longer resting period. Ultimately, it is recommended to let ribs rest for at least 10-15 minutes, but adjusting the time based on these factors will help achieve the desired results.
Different Types Of Ribs And Their Resting Times
When it comes to resting times for different types of ribs, it’s important to consider their thickness and meatiness. Here are the recommended resting times for some popular rib cuts:
- Baby Back Ribs: These smaller, leaner ribs typically require a resting time of about 10-15 minutes.
- Spare Ribs: These larger, meatier ribs may need a slightly longer resting time of 15-20 minutes to allow the flavors to fully develop.
- Beef Ribs: Due to their meatiness, beef ribs often benefit from a longer resting period of 20-30 minutes.
- St. Louis-Style Ribs: These trimmed spare ribs have a similar resting time to spare ribs, ranging from 15-20 minutes.
Remember, these times are just guidelines, and personal preference may vary. Adjust the resting time based on the thickness and desired tenderness of your ribs.
The Impact Of Cooking Method On Resting Time
The cooking method used for ribs can have an impact on the required resting time. Grilling or barbecuing ribs at high heat for a shorter period of time may result in less moisture loss, allowing for a shorter resting period. On the other hand, slow cooking or smoking ribs at lower temperatures for a longer duration can cause more moisture to be released, requiring a longer resting time to allow the flavors to fully develop and the meat to tenderize. It’s important to consider the cooking method when determining the optimal resting time for your ribs.
Resting Ribs: Step-by-step Guide
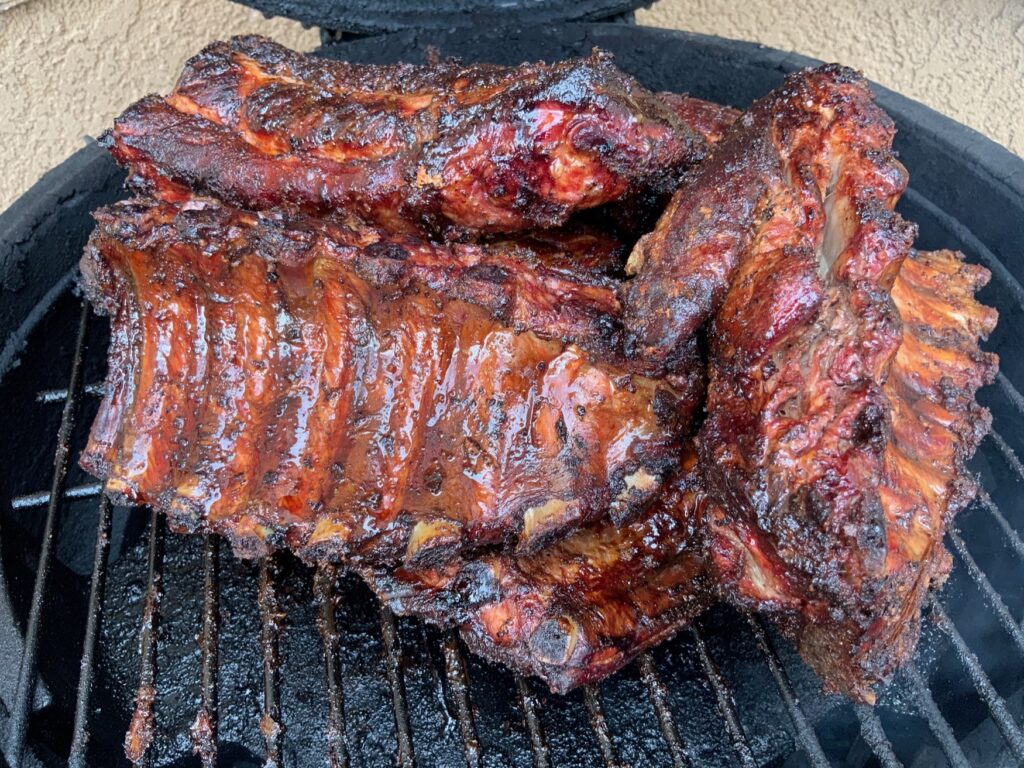
To ensure that your ribs reach their peak flavor, it’s important to follow a step-by-step guide for resting them. Here’s how to do it:
- Removing ribs from heat and preparing for resting: Once your ribs are cooked to perfection, carefully remove them from the grill or smoker using tongs. Place them on a clean cutting board or a foil-lined tray.
- Ideal resting conditions for ribs: Allow your ribs to rest at room temperature, uncovered. This allows the surface moisture to evaporate, resulting in a better-textured crust. Also, make sure to maintain a well-ventilated area to prevent the ribs from becoming soggy.
Remember, the resting time will depend on the size of the ribs and personal preference. Aim for a resting period of 10-15 minutes for smaller cuts, while larger racks may require up to 30 minutes.
By following these step-by-step instructions, you can ensure that your ribs are properly rested and ready to be enjoyed at their peak flavor.
Removing Ribs From Heat And Preparing For Resting
Once your ribs are cooked to perfection, carefully remove them from the grill or smoker using tongs to avoid any damage or breakage. Place them on a clean cutting board or a foil-lined tray to catch any drippings. This step is crucial as it allows the ribs to cool slightly and redistribute their juices, resulting in a more tender and flavorful end result. Avoid cutting into the ribs immediately after cooking, as this can cause the precious juices to escape, leading to dry ribs. Give them a few minutes to rest before moving on to the next step.
Ideal Resting Conditions For Ribs
Ideal resting conditions for ribs involve maintaining a warm and controlled environment. After removing the ribs from heat, it is essential to cover them with foil or butcher paper to retain heat and moisture. This helps the ribs to continue cooking gently and allows the flavors to meld together. Additionally, it is recommended to keep the ribs at room temperature during resting to prevent them from cooling too quickly. By maintaining these ideal resting conditions, the ribs will reach their peak tenderness and flavor, providing a truly delicious dining experience.
The Perfect Resting Time For Ribs
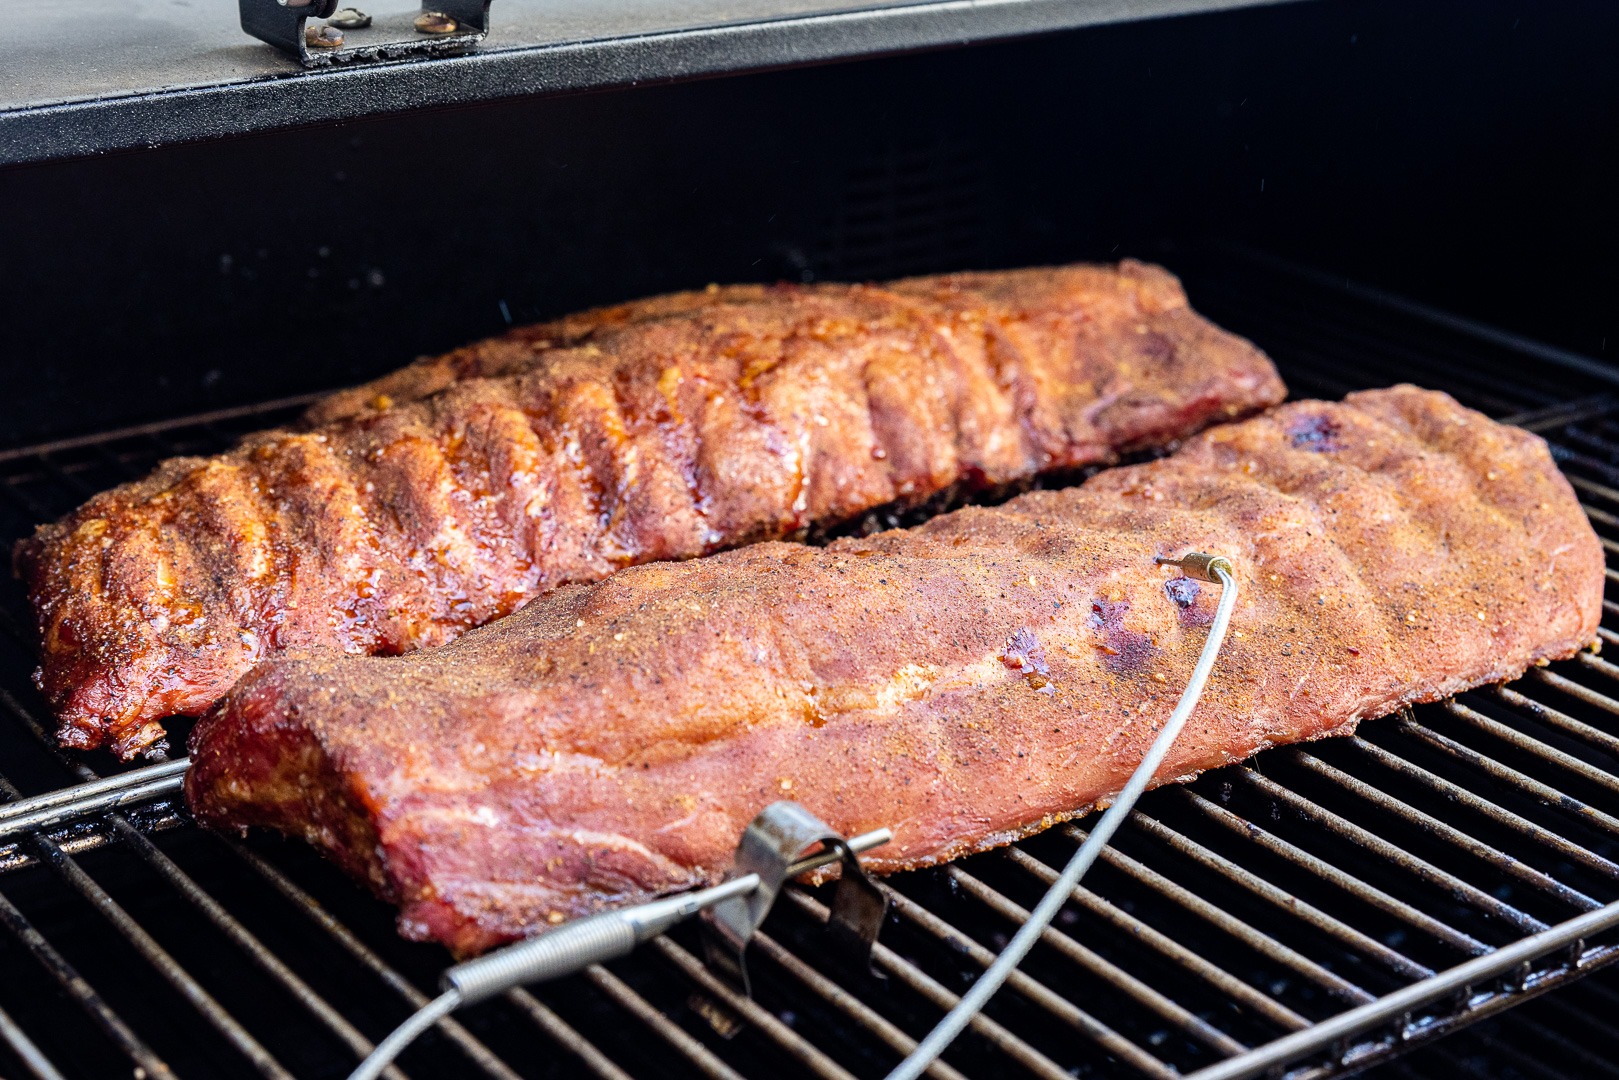
The perfect resting time for ribs can vary depending on the cooking method and the cut of meat. As a general guideline, it is recommended to let the ribs rest for about 10-15 minutes after cooking. This allows the juices to redistribute throughout the meat, resulting in more flavorful and juicier ribs. However, the resting time can also be influenced by personal preference. Some individuals prefer to let the ribs rest for longer periods of time to achieve even more tender and succulent meat. Ultimately, the ideal resting time for ribs can be determined by factors such as desired tenderness and the specific recipe being used.
Resting Times For Different Cooking Methods
Resting times for ribs can vary depending on the cooking method used. For ribs that are smoked low and slow, it is recommended to let them rest for about 10-15 minutes. This allows the meat to relax and the juices to redistribute, resulting in tender and flavorful ribs. For ribs that are cooked on a grill or in the oven at higher temperatures, a shorter resting time of 5-10 minutes may be sufficient. Regardless of the cooking method, allowing the ribs to rest before slicing and serving will help ensure the best possible flavor and texture.
Recommended Resting Times For Various Rib Cuts
The recommended resting times for various rib cuts vary depending on the type and thickness of the meat. Here are the general guidelines for resting different rib cuts:
- Baby Back Ribs: Baby back ribs are smaller and leaner, so they require a shorter resting time of about 5-10 minutes. This allows them to retain their tenderness and juiciness.
- Spare Ribs: Spare ribs are larger and have more fat, which adds flavor and tenderness. It is recommended to let spare ribs rest for about 10-15 minutes to allow the flavors to develop and the meat to relax.
- St. Louis Ribs: St. Louis ribs are spare ribs with the sternum cartilage removed, resulting in a rectangular shape. These ribs benefit from a resting time of about 10-15 minutes for optimal flavor and texture.
By following these recommended resting times, you can ensure that your rib cuts are at their peak flavor and tenderness when served.
Enhancing Flavor And Texture During Resting
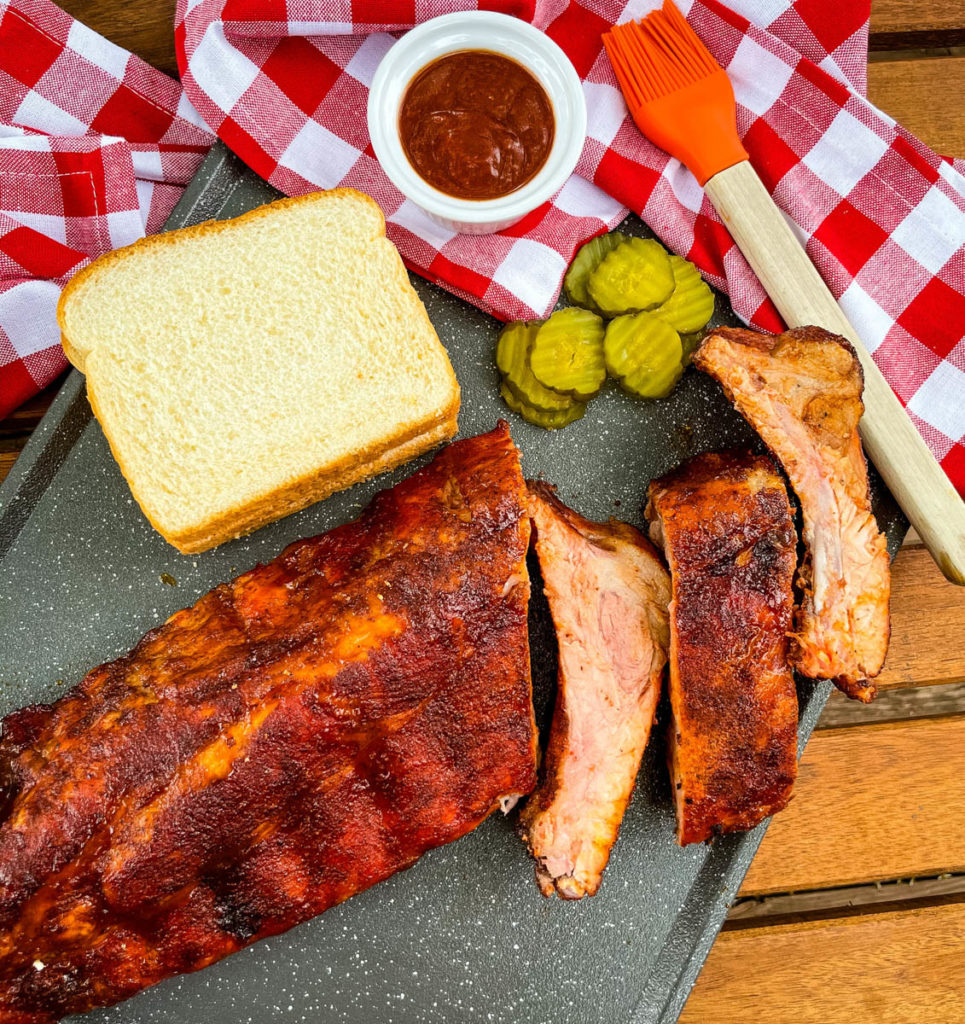
During the resting period, you can take the opportunity to enhance the flavor and texture of your ribs. One way to do this is by applying a sauce or glaze during the resting time. The heat from the cooked ribs will help the sauce adhere and penetrate the meat, adding an extra layer of flavor. Additionally, allowing the ribs to rest allows the proteins to relax and reabsorb any lost moisture, resulting in a juicier and more tender texture. By taking these steps, you can elevate the overall eating experience of your ribs.
Applying Sauce Or Glaze During Resting
During the resting period, one way to enhance the flavor of your ribs is by applying a sauce or glaze. The heat from the cooked ribs will help the sauce adhere and infuse the meat with extra flavor. You can choose from a variety of sauces, such as barbecue, honey mustard, or teriyaki, depending on your personal preference. Brush the sauce or glaze onto the ribs and let them sit for a few minutes to allow the flavors to meld. This additional step will take your ribs to the next level of deliciousness.
Resting Period’s Impact On Tenderness And Juiciness
The resting period after cooking plays a crucial role in the tenderness and juiciness of ribs. When you let the ribs rest, the residual heat continues to redistribute the juices within the meat, allowing them to reabsorb and evenly distribute. This process helps to tenderize the meat and retain its moisture, resulting in juicy and succulent ribs. Additionally, resting allows the muscle fibers in the meat to relax, making the ribs more tender and easier to bite into. By allowing your ribs to rest before serving, you ensure that they reach peak tenderness and juiciness for a truly satisfying dining experience.
Serving Rested Ribs: Tips And Tricks
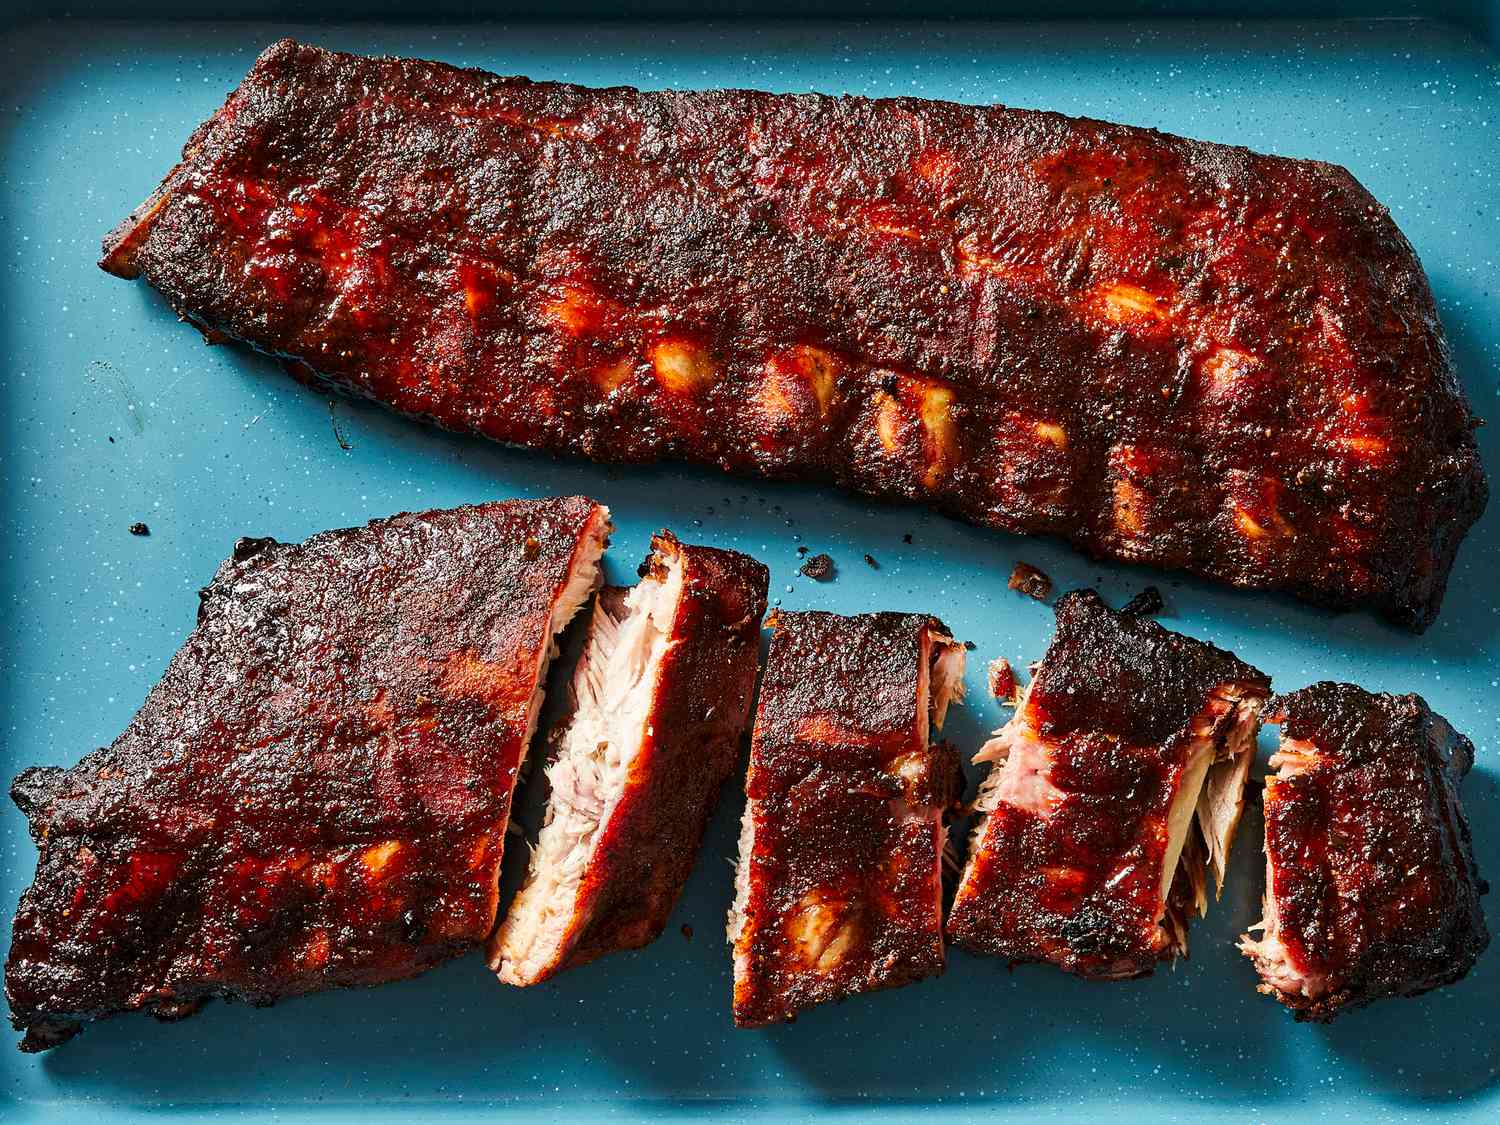
When it comes to serving rested ribs, there are a few tips and tricks to ensure a delicious and satisfying dining experience. Here are some best practices to consider:
- Slicing: To showcase the tenderness of the ribs, it’s essential to slice them properly. Use a sharp knife to cut between the bones, creating uniform slices. This not only enhances the presentation but also makes it easier for your guests to enjoy.
- Presentation: Arrange the sliced ribs on a platter or individual plates, ensuring they are aesthetically pleasing. Garnish with fresh herbs or a sprinkle of BBQ rub for added visual appeal.
- Pairing: Choose complementary sides and sauces to accompany the rested ribs. Classic options include coleslaw, cornbread, baked beans, or grilled vegetables. Consider offering a variety of BBQ sauces or a homemade glaze for your guests to personalize their flavors.
- Timing: Serve the rested ribs immediately after slicing and plating to maintain their optimal temperature. Hot, juicy ribs are always more enjoyable than ones that have cooled off.
By following these tips and tricks, you can enhance the dining experience and showcase the deliciousness of your rested ribs to your guests. Enjoy!
Best Practices For Slicing And Presenting Rested Ribs
When it comes to serving rested ribs, it’s important to follow some best practices for slicing and presenting them. Start by using a sharp knife to cut between the bones, creating uniform slices that showcase the tenderness of the meat. Arrange the sliced ribs on a platter or individual plates, ensuring they are aesthetically pleasing. You can garnish with fresh herbs or a sprinkle of BBQ rub for added visual appeal. By taking these steps, you can enhance the presentation and make it easier for your guests to enjoy the deliciousness of the rested ribs.
Pairing Rested Ribs With Complementary Sides And Sauces
When serving rested ribs, it’s important to choose sides and sauces that complement the flavors of the meat. Some popular options include:
- Classic barbecue sides: Serve your ribs with traditional barbecue sides such as coleslaw, baked beans, cornbread, and potato salad. These sides provide a perfect balance of textures and flavors.
- Grilled vegetables: Lightly charred vegetables like corn on the cob, zucchini, or bell peppers add a refreshing contrast to the richness of the ribs.
- Seasoned fries or potato wedges: Crispy fries or seasoned potato wedges are a delicious accompaniment to ribs, adding a satisfying crunch.
- Sweet and tangy sauces: Consider serving your ribs with a variety of barbecue sauces, ranging from sweet and sticky to tangy and spicy. These sauces enhance the flavors of the meat and provide a delightful contrast.
Remember, the key is to choose sides and sauces that will enhance the overall dining experience and complement the smoky, tender flavors of the rested ribs.
Frequently Asked Questions About How Long to Let Ribs Rest
Q: Why is it important to let ribs rest after cooking?
A: Allowing ribs to rest after cooking is crucial as it allows the meat to reabsorb the juices that have been pushed towards the center during the grilling or smoking process. Resting also helps retain moisture, enhances tenderness, and allows flavors to develop more fully.
Q: How long should I let ribs rest before serving?
A: It is recommended to let ribs rest for about 10 to 15 minutes before carving or serving. However, for more sizable racks of ribs, such as those weighing over four pounds, a resting time of up to 20 minutes may be necessary.
Q: What happens if I don’t let the ribs rest before serving?
A: If you skip the resting step and go straight to carving or serving, you risk losing some of the meat’s natural juices. This can result in drier, less flavorful ribs. Resting allows the proteins to relax and reabsorb the juices, making your ribs more succulent and enjoyable.
Q: How do I properly rest ribs?
A: To rest the ribs, first remove them from the heat source and place them on a cutting board or platter. Loosely cover the ribs with aluminum foil, which will help retain heat. Avoid wrapping them too tightly as this can trap steam, potentially making the ribs soggy.
Q: Can I let the ribs rest for too long?
A: While it’s always better to let ribs rest than not to, there is a limit to how long you should wait. After about 30 minutes or so, the meat may start to cool down too much and lose its ideal serving temperature. Therefore, it’s best to avoid excessively long resting times.
Q: Where should I let the ribs rest?
A: Find a warm, draft-free area in your kitchen to let the ribs rest. The surface you place them on should be clean and heat-resistant, such as a cutting board or heatproof platter.
Q: Can I refrigerate the ribs to rest them for an extended period?
A: It is not recommended to refrigerate the ribs immediately after cooking to rest them. This can hinder the redistribution and reabsorption of juices. Instead, cover them loosely with foil and let them rest at room temperature for the designated time.
Q: What about reheating the ribs after they’ve rested?
A: If necessary, you can reheat the ribs gently after they have rested. Preheat your oven or grill to a low temperature (around 250°F or 120°C) and warm the ribs for a short period, just until heated through. Be cautious not to overcook them during this process, as it can affect their texture and flavor.
By following these guidelines and allowing your ribs to rest properly, you’ll ensure a more flavorful, tender, and mouth-watering dining experience. Enjoy!

Come for The Burgers… Stay for The Beers!